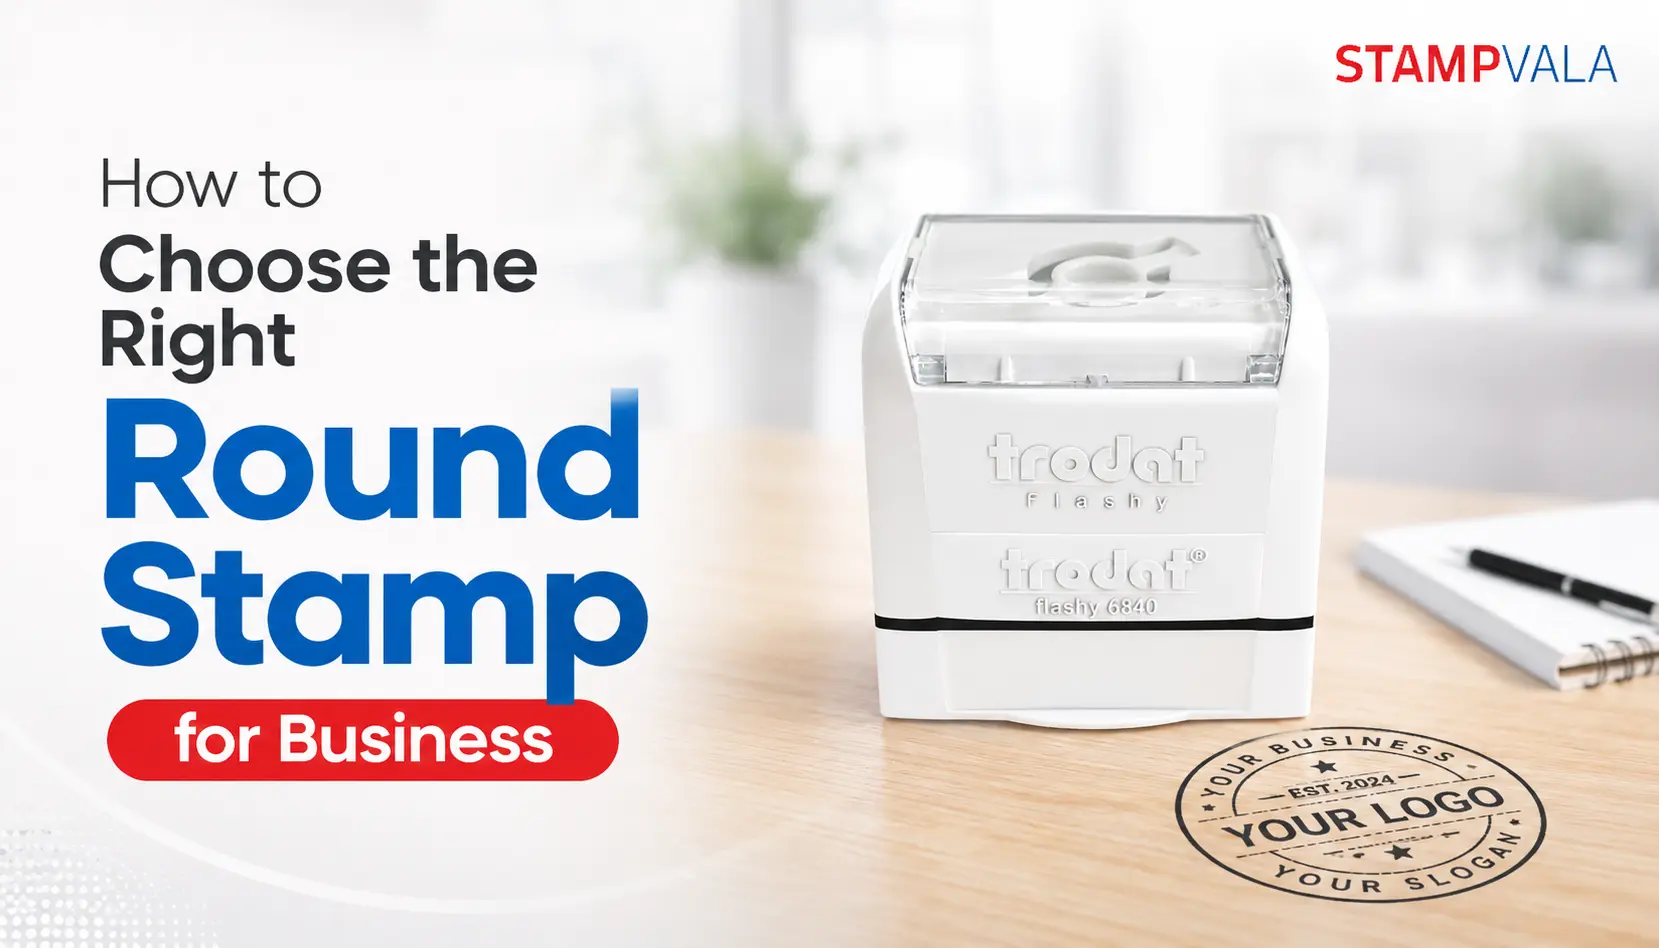
Round stamps are a type of stamp that reproduces sketches, photos and other artworks onto a finished product such as paper. The result is an artists’ impression of the subject – but with the added bonus of being able to actually see what’s on display. You can use round stamps to create quick and easy projects, or take your creative eye further, and produce something more lasting than simply pasting images onto a piece of paper. Here are some ideas: Round stamps are great for making simple designs or cutouts that last; they also make great classifier labels and customisable wall hangings. We love this idea of creating a round stamp label for jackets and other tossed-together projects – here’s how!
Make a round stamp label
The first step to creating a round stamp label is to decide exactly what you want to be represented. Your idea of what you want to be represented may depend on the type of project you’re working on, but usually starts by picking an object that you’d like to be visible in the finished product. Once you’ve chosen your inspiration, it’s time to start making a list of materials you’ll use in the project. This includes the cost of each item you’ll be using, the space and materials you want to invest in your project, and the total cost of materials. You can buy ready-made label and printing equipment at hobby shops or online, or make your own using simple tools and fabrics.
Add your own personalised artwork
Once you’ve made your list of materials and started working out how you’re going to use them, it’s time to start creating your own ideas. Using a photo of your favourite person as your starting point, start adding visual components that will help you to personalise the final product. You can use the same photo to create different themes, such as an image that represents you with your favourite personality traits, or a more whimsical image that represents your character with a light side effect. If you’re making a portrait, choose an animal that you’d like to portray – be it your favourite pet or a random animal that you don’t have any plans to kill. If you’re making a sketch, choose an object that you’d like to represent, either in painting or round stamp design.
Use a variety of materials for your project
If you’re making a photo collage, you’ll want to choose an array of colours, prints, and canvas materials so that the colors blend naturally. You can buy ready-made collage canvas supplies at craft stores, or make your own using simple tools and fabrics. If you’re making a print collage, choose a variety of papers, colours, and printing materials to ensure that the colors blend naturally and that the finished product appears to be a hodgepodge of objects. You can buy ready-made poster canvas supplies at art shops, or make your own using simple tools and fabrics. If you’re making a gallery work, choose a variety of materials to ensure that the colors blend well and that the finished product looks professional. You can buy ready-made gallery boards at art stores, or make your own using simple tools and fabrics.
Conclusion
The possibilities of making stamp simple, lasting collages of your favourite objects is pretty much endless – and that’s just for starters! To make a lasting collage like the one you’ve chosen for your project, it’s essential to make use of a variety of materials. For the perfect project, you can choose from a variety of materials such as canvas, canvas board, paper, cardboard, or whatever other materials you prefer. Even if you’re making a collage of your favourite flowers or wildlife, it’s important to consider the total cost of materials, including the cost of canvas, paper, and other supplies. If you’re ready to take your collage to the next level, you can use your finished product as a calendar or poster. To personalize the calendar and make it more interesting, choose a random object that you’d like to be visible in the finished product.
