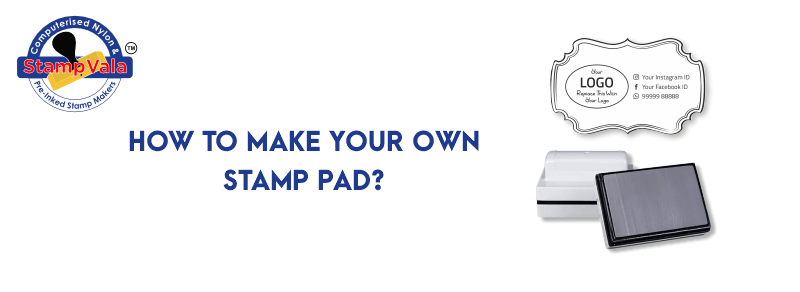
A stamp pad is a small piece of rubber or silicone that creates an impression when pressed onto the paper. Stamp pads are a great way to make your custom stamps. You only need a few supplies, and you can create your custom stamp pad in no time. Some materials need to make a stamp pad like paper towels, paint, fabric, sponge paint brush, watercolour paint, cardboard or paper plate, pencil, or pen.
A stamp pad is a small rubber pad with a backing that transfers ink from an inkpad to paper. Stamp pads are usually made of natural rubber. Making your stamp is a great idea for anyone who wants to have personalized stamps. In this article, we will learn how to make your stamp pads.
Table of Content
1. Preparing the container
2. Ingredients for the Ink
3. Transferring the ink into sponges
4. Testing your stamp pad
1. Preparing the container
The first important step for making your stamp pad is to find a suitable container to hold stamp pads. Use a container slightly more significantly than the actual stamp pad. Use sharp scissors, mark and make measurements, cut the foam, and place it on the container.
2. Ingredients for the ink
The next step is the ingredients you require for preparing the ink. Take a bowl and add 6 spoons of water to it. Add little blue acrylic paint colour and mix well after mixing the acrylic paint with water. Inks are generally water-based, so they need to dry quickly when stamped on paper.
For this, you require the main ingredient that is glycerin. Glycerin helps the ink from drying out of the sponge and absorbs well into the paper. Add 1 spoon of glycerin into the mixture and mix all the ingredients well.
3. Transferring the ink into sponges
Now take this ink mixture and transfer it into the foam or sponge. Soak the foam or sponge completely with the ink mixture. Let the ink spread into the sponge. As the sponge is absorbent, the ink will mix well with it. Keep your stamp pad closed to help prevent it from drying out. You can also use different colours and add or transfer them into the sponge. Close the container for a few minutes.
4. Testing your stamp pads
Your custom stamp pad is ready, and now you use any stamps of your choice and try them on the paper. Take a piece of paper and press it against the stamp pad. If the ink comes off the paper onto the stamp pad, you are good to go; if not, try pressing it again or rubbing it on the paper to get more ink on the surface.
Custom stamp pads are an inexpensive way to personalize your paper crafts, cards, and projects. Try experimenting with different ink colours or different types of paper.
Conclusion
Making a stamp pad is a great way to be creative and have fun. You can make your stamp pad at home with just a few materials. Stampvala in Ahmedabad is a Startup India Recognized Company By Ms Nios Retails Private Limited. They manufacture and distribute a wide variety of stamps. Stampvala also takes orders of customized stamps like a stamp including text or photographs. They provide services like Embossed Seals, Numberings or Batch Coding, Pre-Ink Stamps, Refilling Ink or Dry Pads, Self-ink Daters or Daters, and Self-Ink Stamps. Stampvala company is the best to make your customized stamp pads.


