


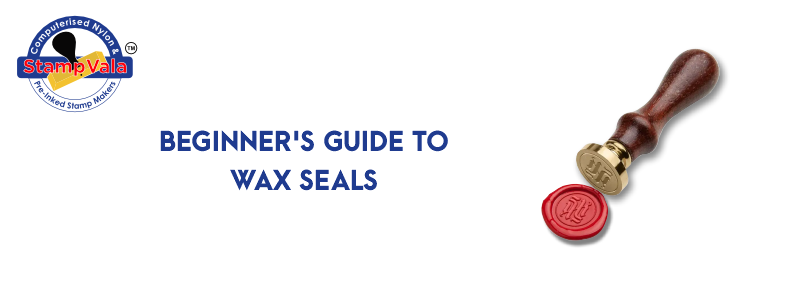
A wax seal stamp is ideal for giving your messages a distinctive and classy touch. But getting started with wax sealing might be challenging. Back then, the entire point of wax sealing was to ensure that the receiver could tell whether a message or letter had been interfered with and to recognize the sender.
Take a moment to picture getting a handwritten letter and delicately wax-sealed. Nothing is more enigmatic, intriguing, or striking than a wax-sealed letter. It urges you to unlock it and satisfy your curiosity. Your favorite friend’s letter lies inside the envelope, which you gently open while trying to preserve the stamp image. Beautiful wax seals give your correspondence a unique touch. You’re bound to discover some ideas for wax seals that will improve your connection with wax seals, even if you’re employing a glue gun or a spoon.
The fundamental idea behind creating a wax seal is:
- Wherever you desire the seal to be, pour melted wax into that area.
- Insert the wax seal firmly into the warm wax.
- Let it cool before removing the seal.
Have you ever heard of a custom wax seal? Owning a customized seal adds value to whichever documents it’s used on and is highly personal. The object used to create your wax seal might be anything basic, like a hard metal object with a wooden frame, or it could be a costly signet ring on your finger. Sometimes wax seals can also be hand-engraved with your wonderful family logo, coat of arms, or even something as simple as your initials.
Beginners’ Advice
· Spread the wax onto some parchment material, a stone table, or any other heatproof non-stick base if you intend to use the wax seal later. You may quickly remove it after it has cooled and re-stick it for future use.
· The wax stamp should be chilled before use to create a wax seal more quickly. A wax stamp that has been cooled will aid the wax in cooling more quickly and lessen the chance of it adhering to the stamp.
Wicked Sealing Wax Sticks: This wax is among the handiest and most user-friendly, but it takes more work to manage. It comes in many different hues. The only tools necessary are a lighter or a set of matches, making it the easiest approach. That’s all you have to do. When the wax stick is lit, let it drop into a puddle that is precisely the right size for your wax stamp. Allow the wax to solidify for approximately a minute after pressing the sealing stamp firmly into it for a few minutes. Take off the sealing stamp carefully. Give it a little more time to cool if you encounter resistance.
Wax Sealing Beads: This kind of wax is available in various forms, patterns, and hues. These are everybody’s favorites since this technique allows you to create marble and wax seals in many colors! With different colored wax as well as other kinds of wax, like semi-transparent parchment or translucent golden wax, you may become innovative. The wax seems too heated if it is bubbling, so watch out for that! When you use a spoon, move it away from the heat or let it cool before pouring. Set the heat setting on “low” if you’re operating a wax gun. If there isn’t a pre-set, consider briefly shutting it off after every few seals to help control the temperature.
One of the most important things to remember is that you should close your message as if it didn’t have a seal. It is thus advised to tape everything still together if the seal is damaged in the post, and you don’t want the entire contents to leak out while being transferred. You can rely on STAMPVALA for seals or stamps.
